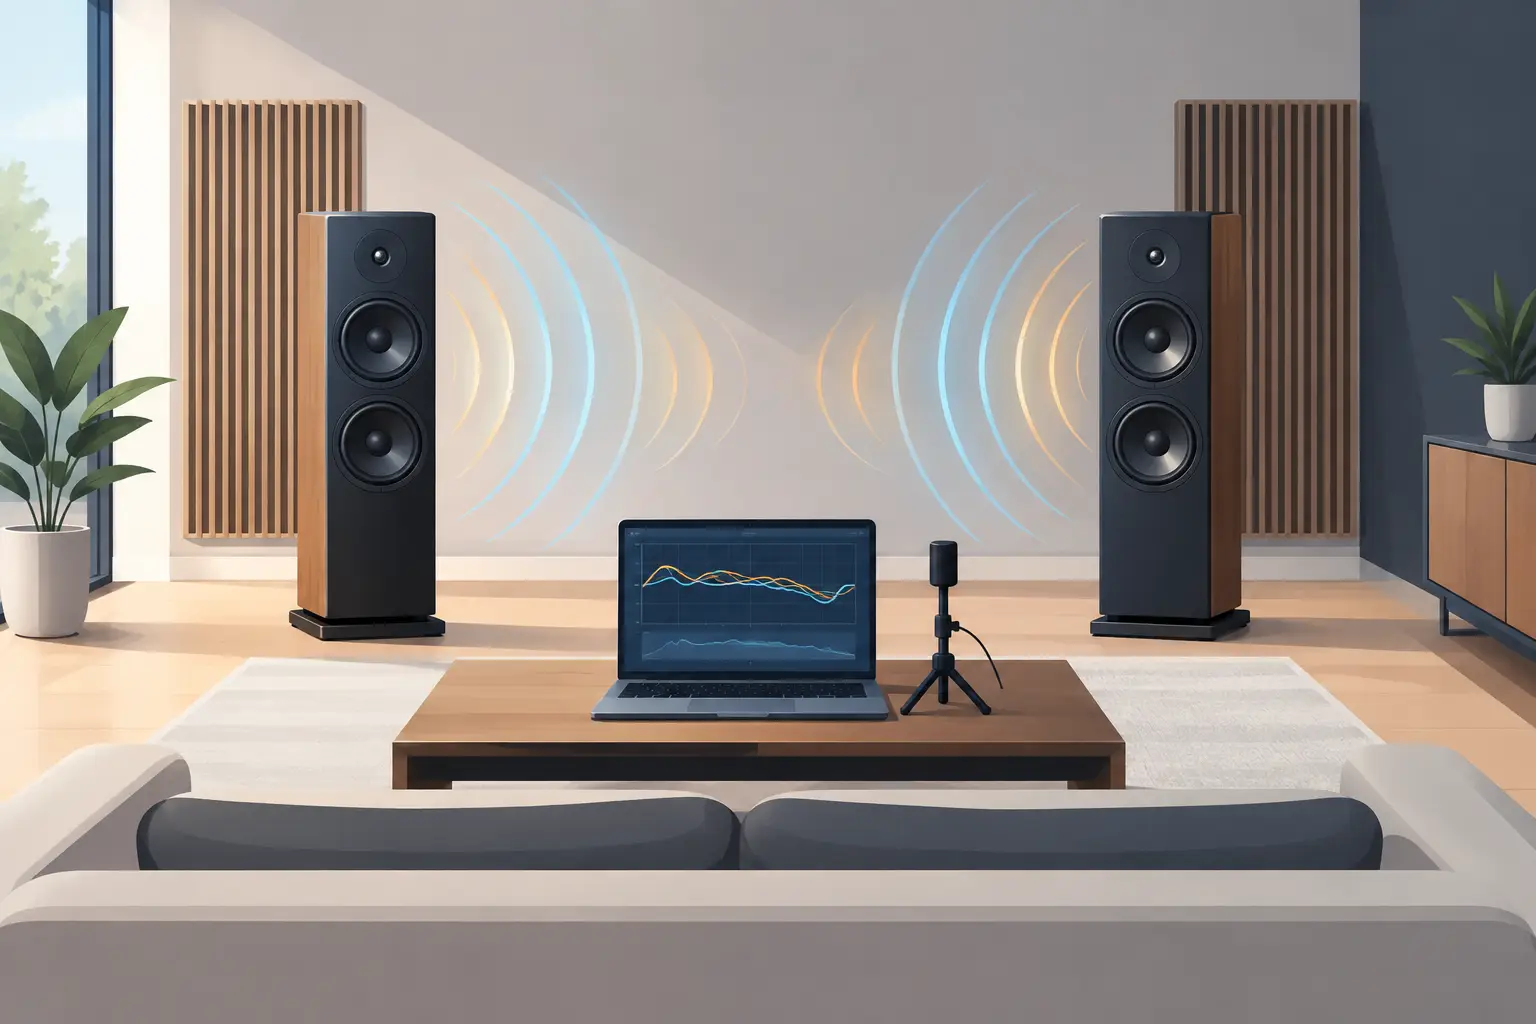
A fine loudspeaker does not enter an empty laboratory when it arrives in a listening room. It enters a space with dimensions, boundaries, furnishings, and resonances of its own. Room correction can be a powerful final tool in a high-end system, but it is not a substitute for thoughtful setup. Used with discipline, it can clarify bass, stabilize imaging, and make a system more truthful to the recording. Used indiscriminately, it can trade musical ease for an impressive-looking measurement.
For ribbon loudspeakers in particular, the room deserves serious attention. Their speed, low moving mass, and exceptional ability to reveal timing and spatial information make them deeply responsive to placement and listening geometry. The objective is not to force the room into mathematical perfection. It is to reduce the room's strongest impositions while preserving the loudspeaker's natural character.
What Room Correction Actually Corrects
Room correction is a process in which measurements of the loudspeaker and room are used to create equalization filters, timing adjustments, or both. Those filters are then applied in a digital signal processor, streaming component, preamplifier, integrated amplifier, or separate room-correction platform.
The room has its greatest influence at low frequencies. Below roughly 300 Hz, room dimensions create standing waves, also called modes. At certain frequencies, bass energy accumulates and becomes disproportionately loud. At others, direct and reflected energy cancel, creating a null. A kick drum may become bloated at one note and seem to lose weight at the next, even when the loudspeaker itself is exceptionally linear.
At higher frequencies, the situation is more complex. Reflections from sidewalls, floors, ceilings, and the wall behind the loudspeakers affect tonal balance, apparent image size, and the sense of depth. Yet these reflections are also part of how we perceive a believable acoustic event. Attempting to equalize every visible ripple at the listening seat can create an overcorrected system that sounds constrained, dry, or subtly artificial.
That distinction matters. Equalization is generally effective against broad low-frequency excesses. It is far less effective against deep cancellations, which are often caused by geometry rather than a simple tonal imbalance. If a null is created by the interaction between a speaker and a nearby boundary, adding more power at that frequency usually does not solve the problem. It can simply force the amplifier and loudspeaker to work harder while the cancellation remains.
Start With Placement Before Room Correction
The most valuable adjustment in a listening room is often free: move the loudspeakers and the chair. A correction system should refine a soundstage that is already fundamentally right, not rescue an arrangement dictated solely by convenience.
Begin with symmetry where the room permits it. The left and right loudspeakers should see reasonably similar boundaries, particularly at the first reflection points. Establish an equilateral or near-equilateral triangle between the speakers and listening position, then adjust from there. With ribbon designs, small changes in toe-in and seating height can produce meaningful changes in image focus and treble balance.
Distance from the front wall is equally consequential. Moving a loudspeaker forward or backward changes its relationship to the wall behind it, altering boundary interference and bass reinforcement. The listening chair should also avoid obvious modal pressure zones, especially the exact center of the room or a position tight against the rear wall. There is no universal measurement that replaces listening and measurement in the actual room.
Furnishings matter, but not in simplistic ways. A thick rug can reduce a strong floor reflection. Bookcases, curtains, upholstered seating, and carefully chosen diffusion can help make reflected energy less destructive without deadening the room. The goal is a controlled acoustic environment with preserved liveliness, not a room that resembles a vocal booth.
Before measuring, verify the practical foundation: both loudspeakers should be level, securely supported, correctly phased, and positioned with repeatable reference points. A system cannot be corrected accurately if its baseline keeps changing.
A Better Measurement Strategy
A calibrated measurement microphone and software capable of producing frequency-response, impulse-response, and decay data are worthwhile investments for serious owners. Automatic room-correction systems simplify the process, but their results are only as good as the measurements and target curve supplied to them.
Measure more than one point around the primary listening position. A single, perfectly centered measurement can lead a system to optimize for a space no human head occupies continuously. Several closely grouped measurements provide a more useful picture of the listening area and reduce the risk of correcting a highly local anomaly.
Treat the results as evidence, not a verdict. Frequency response shows where energy is elevated or diminished, but it does not tell the whole story. Waterfall and decay plots can reveal bass that lingers too long. Impulse and timing data can expose arrival-time differences between channels. Listening remains essential because measurements cannot fully quantify tonal texture, depth layering, or the emotional coherence of a performance.
When reviewing a measurement, focus first on broad trends. A 6 dB rise across a wide bass region is a credible candidate for correction. A narrow, deep 15 dB notch may be a cancellation that should be addressed through placement, seating position, or subwoofer integration instead. The corrective instinct should be strongest for peaks and gentlest for dips.
Use a Target Curve, Not a Flat Line
A perfectly flat in-room response is rarely the most convincing target for music playback. Most well-balanced listening rooms benefit from a modest downward tilt from bass to treble, with low frequencies carrying slightly more energy than the top octave. The precise contour depends on room size, speaker directivity, playback level, and personal preference.
This is where high-end listening differs from chasing a graph. A target curve should support the natural tonal balance of real instruments and familiar recordings. If a correction profile makes double bass more uniform but removes the body of a cello, it has gone too far. If vocal sibilants become more prominent after aggressive treble correction, the system may be compensating for reflections or microphone-position artifacts rather than an audible flaw.
Many experienced listeners find that correction limited to the modal region provides the most satisfying balance. Correct below 200 Hz or 300 Hz, then allow the loudspeaker's inherent voicing and radiation pattern to shape the midrange and treble. In a difficult room, a higher correction range may be justified. In a well-treated, purpose-built room, less intervention is often more convincing.
Timing, Phase, and Subwoofer Integration
Room correction is particularly valuable when integrating subwoofers with full-range loudspeakers. A subwoofer can add extension and reduce the burden on main speakers, but only if level, crossover point, polarity, phase, and delay are established correctly. A mismatch in any of these areas may create a thick upper bass or an audible hole at the handoff frequency.
Do not assume that a subwoofer must be placed near the main speakers. At bass frequencies, placement is governed more by room modes than stereo imaging. Multiple subwoofers, placed strategically and operated at moderate levels, can often produce smoother bass across the listening area than one larger unit working alone. This is not always necessary, but it is one of the most effective solutions for rooms with persistent modal behavior.
Timing adjustments should be approached with the same restraint as equalization. Correcting obvious channel-offset or subwoofer-arrival issues can sharpen transients and improve coherence. Excessive processing, however, may introduce complexity without delivering a proportionate improvement. The best setting is the one that makes the system disappear, not the one with the most sophisticated screen display.
Listen After the Measurement Session
Once a correction profile is created, compare it with bypass using recordings you know intimately. Use acoustic bass, piano, uncompressed vocal tracks, small jazz ensembles, and large orchestral works. These reveal different problems: bass continuity, tonal density, image specificity, dynamic contrast, and the ability to retain separation when the arrangement becomes complex.
Level-match the comparison as closely as possible. A profile that plays even slightly louder can seem clearer or more energetic, masking a loss of low-level detail or tonal richness. Listen over several sessions as well. Initial impressions may favor a dramatic tightening of bass, while longer listening reveals whether the system still breathes naturally through an entire album.
For Clarisys Audio owners, this final stage should honor what ribbon speaker technology does exceptionally well: preserving speed, transparency, and the spatial cues that make a recorded performance feel present. Correction should remove obstacles to that experience, not impose a synthetic signature over it.
A well-corrected room is not one that measures perfectly. It is one in which low frequencies stop calling attention to the room, images remain stable as music grows complex, and the listener is free to follow the performance rather than the acoustics.