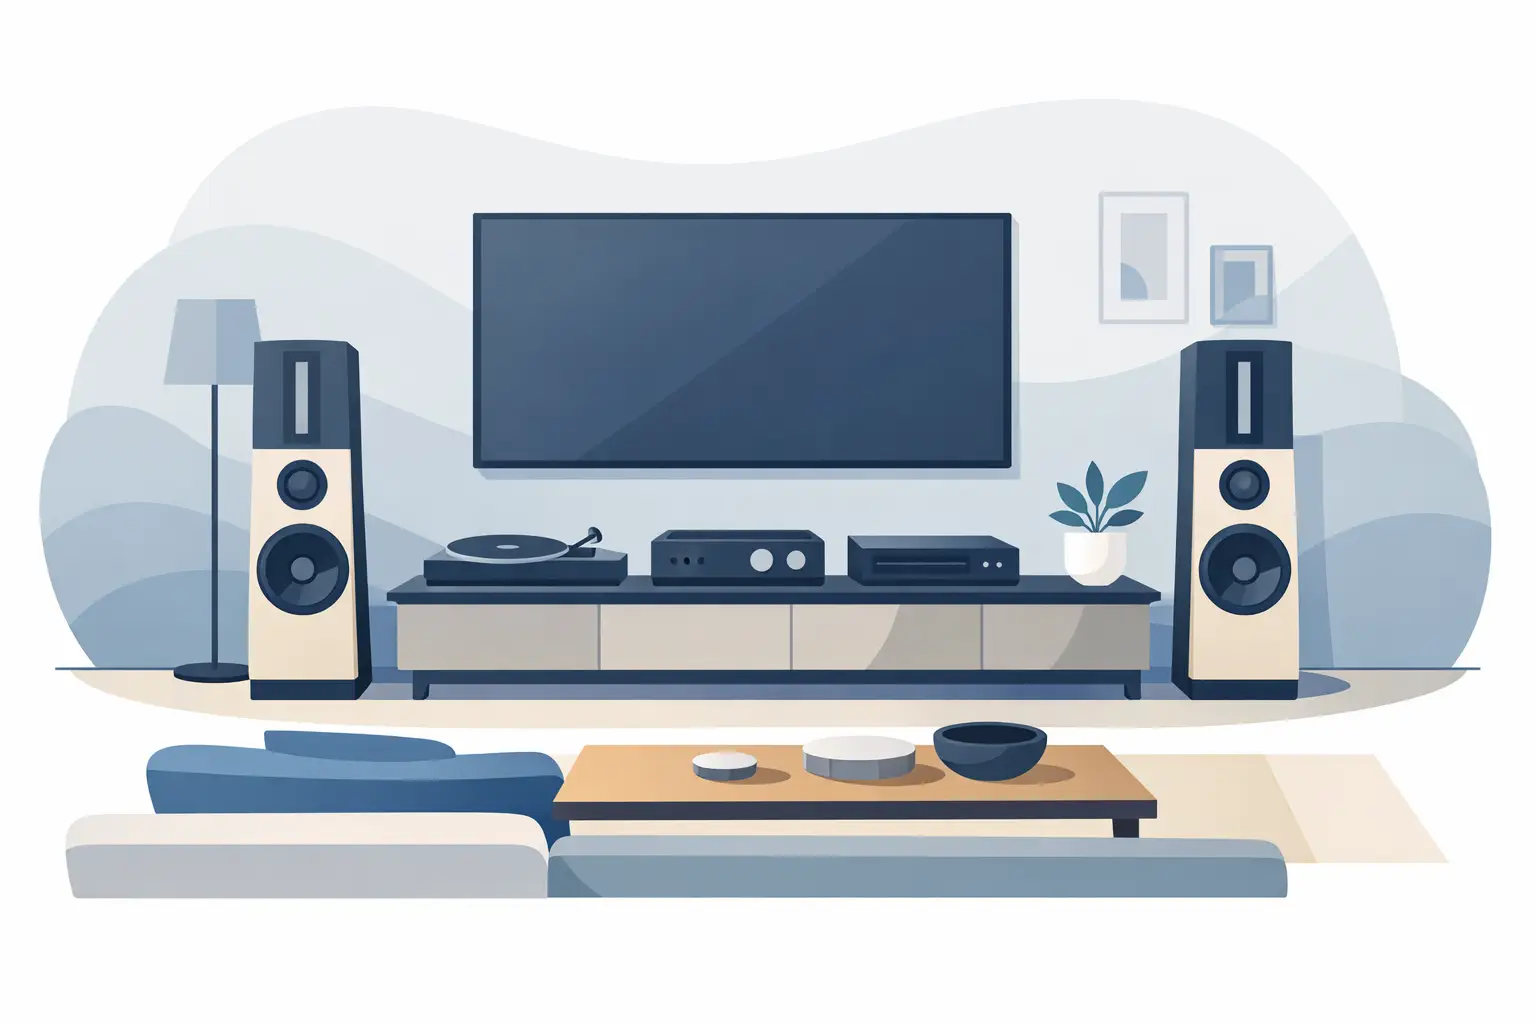
A revealing loudspeaker does not make setup mistakes disappear. It exposes them. This ribbon speaker setup example is designed for the serious listener assembling a two-channel reference system in a real room, where boundaries, amplifier behavior, seating position, and small placement changes all shape the final result.
Ribbon loudspeakers reward precision because their transient speed, low stored energy, and exceptional ability to resolve spatial information make room interaction especially audible. The objective is not to force a generic formula onto every system. It is to establish a disciplined starting point, then listen and adjust with purpose.
The Reference Room and System
Consider a dedicated listening room measuring 18 feet long by 14 feet wide, with an 8.5-foot ceiling. The system is installed on the short wall, firing down the 18-foot length. This orientation usually gives the loudspeakers more distance to develop a convincing stage before the sound reaches the primary listening position.
The source is a high-quality streamer and DAC feeding a line-stage preamplifier, followed by a stable, high-current stereo power amplifier. The amplifier is specified to remain comfortable with the speaker's real impedance behavior, not merely its nominal rating. That distinction matters with a highly resolving ribbon design. An amplifier that sounds composed into a demanding load will preserve low-level detail, dynamic contrast, and image stability when orchestral peaks or bass transients arrive.
For this example, use appropriately short speaker cables of equal length, with secure terminations and correct polarity. Avoid treating cable routing as an afterthought. Keep signal cables separated from AC cords where practical, and do not coil excess cable tightly behind the equipment rack.
Ribbon Speaker Setup Example: Starting Dimensions
Begin with each loudspeaker 4 feet from the front wall, measured from the acoustic center of the speaker rather than from the most convenient cabinet edge. Set the speakers 8.5 feet apart, center to center. Place the listening chair 9.5 feet from the line between the two speakers, creating a slightly elongated triangle rather than an exact equilateral one.
This geometry is a starting condition, not a rule. In many rooms, ribbon speakers benefit from generous breathing room behind them because early reflections from the front wall can flatten image depth and add a subtle hardness to upper midrange textures. A little more distance often produces a larger and more believable recorded acoustic.
Keep at least 2.5 to 3 feet between the outside edge of each speaker and the nearest sidewall if the room allows it. Sidewall proximity can pull the apparent stage toward the walls, reduce center-image focus, and exaggerate particular frequencies. If the room is narrower, prioritize symmetry. A system with slightly less ideal spacing but similar left and right boundary conditions will generally outperform one speaker crowded against a wall while the other is open to the room.
Start with modest toe-in. Aim each speaker so its axis crosses roughly 1 to 2 feet behind the listener's head. With a ribbon loudspeaker, this often provides a strong center image without making the presentation overly narrow or overly brilliant. If vocals seem diffuse, increase toe-in in small increments. If the stage becomes constrained between the speakers or cymbals take on too much prominence, reduce it.
Establish the Listening Position Before Fine-Tuning
Do not place the chair directly against the rear wall. That location places the listener in a region where low-frequency pressure can be excessive and uneven. In this room, a seat approximately 5.5 feet from the rear wall leaves useful space behind the listener while preserving the 9.5-foot speaker-to-seat distance.
Seat height is also relevant. The listener's ears should align with the manufacturer-recommended listening window for the loudspeaker. Ribbon systems can offer very broad horizontal dispersion while maintaining more controlled vertical behavior, depending on the implementation. A low lounge chair may sound different from an upright listening chair even when every other variable remains fixed.
Use a tape measure first, then confirm with music. Measurements establish repeatability. Listening establishes whether the geometry serves the actual system and room.
Treat the First Reflections, Not Every Surface
A premium listening room should not be acoustically lifeless. Excess absorption can remove the natural sense of air and decay that makes well-recorded music engaging. The goal is controlled early energy, not a room that feels like a laboratory.
Start with the first-reflection points on the sidewalls. A simple mirror method is useful: while seated, have another person move a mirror along the wall. Any position where you can see a speaker's ribbon from the chair is a likely early-reflection zone. Broadband absorption, carefully selected diffusion, or a combination of both can improve image specificity. The appropriate choice depends on the room's existing liveliness and the treatment's depth.
The wall behind the speakers deserves equal attention. If the speakers must be relatively close to it, absorption can reduce the strength of the immediate reflection. If they have more than four feet of space, diffusion may help preserve a more expansive sense of depth. Heavy curtains, bookcases, and irregular furnishings can contribute, but they are not substitutes for deliberate acoustic decisions.
A rug between the speakers and seat is usually beneficial when the floor is hard. It moderates a strong floor reflection without overdamping the room. Ceiling treatment is more conditional. In a low-ceiling room with exposed hardwood or plaster, a well-positioned ceiling cloud can be valuable. In a room with a textured ceiling and substantial floor covering, it may be unnecessary.
Match Amplification to Control, Not Just Wattage
Ribbon speaker ownership calls for an amplifier that is quiet, stable, and capable of supplying current with authority. A published power figure alone does not tell the full story. Two amplifiers rated at the same output can behave very differently when confronted with complex musical dynamics and changing impedance.
In this setup, choose amplification with enough reserve to reproduce realistic peaks without compression at the desired listening level. For many reference systems, that means selecting an amplifier whose output exceeds the minimum recommendation rather than operating near its limits. The benefit is not simply louder playback. It is greater composure, more convincing bass articulation, and cleaner separation when a recording becomes dense.
Gain structure deserves attention as well. If the usable range of the volume control is confined to its first few degrees, investigate source output, preamplifier gain, and amplifier sensitivity. A well-calibrated system gives the listener fine control over level, particularly important with speakers capable of revealing small dynamic changes.
Before commissioning the system, confirm polarity at every connection. Reversed polarity on one speaker can make the central image vague, strip bass of authority, and produce an oddly spacious but unfocused presentation. It is one of the easiest errors to make and one of the most consequential.
Tune With Recordings You Know Intimately
After the initial placement, live with the setup for several sessions before making major moves. Use familiar recordings with a natural vocal, acoustic bass, piano, and well-recorded percussion. A solo voice should occupy a stable position at center stage. An upright bass should have pitch definition rather than a generalized bloom. Piano should retain weight in the lower register without becoming glassy in the upper octaves.
Move both speakers together in 2-inch increments when adjusting distance from the front wall. Move them symmetrically when changing width. Adjust toe-in by smaller amounts, often no more than a half-inch at the front edge. Change one variable at a time and return to the same musical passage. This discipline prevents a promising adjustment in one area from masking a compromise elsewhere.
If bass is too heavy, do not immediately reach for equalization. First move the speakers farther from the front wall, then adjust the listening seat slightly forward or backward. If the soundstage lacks depth, increase front-wall distance if possible and reassess toe-in. If the center image is too broad, verify symmetry and polarity before narrowing the speaker spacing.
Preserve the Setup Once It Is Right
When the system reaches a satisfying balance, document it. Record distances from each speaker to the front and sidewalls, the toe-in reference point, chair position, and any treatment locations. This is practical ownership support, not unnecessary ritual. It makes recovery straightforward after cleaning, moving furniture, or upgrading components.
Clarisys Audio listeners should approach placement as part of the loudspeaker's final voicing in the home. The room is not an obstacle standing between the system and musical truth. Properly understood, it becomes the final component in a reference playback chain.
The most persuasive setup will not announce itself through spectacular hi-fi effects. It will let a recording establish scale, placement, tone, and silence on its own terms, until the loudspeakers disappear and the musical performance remains.