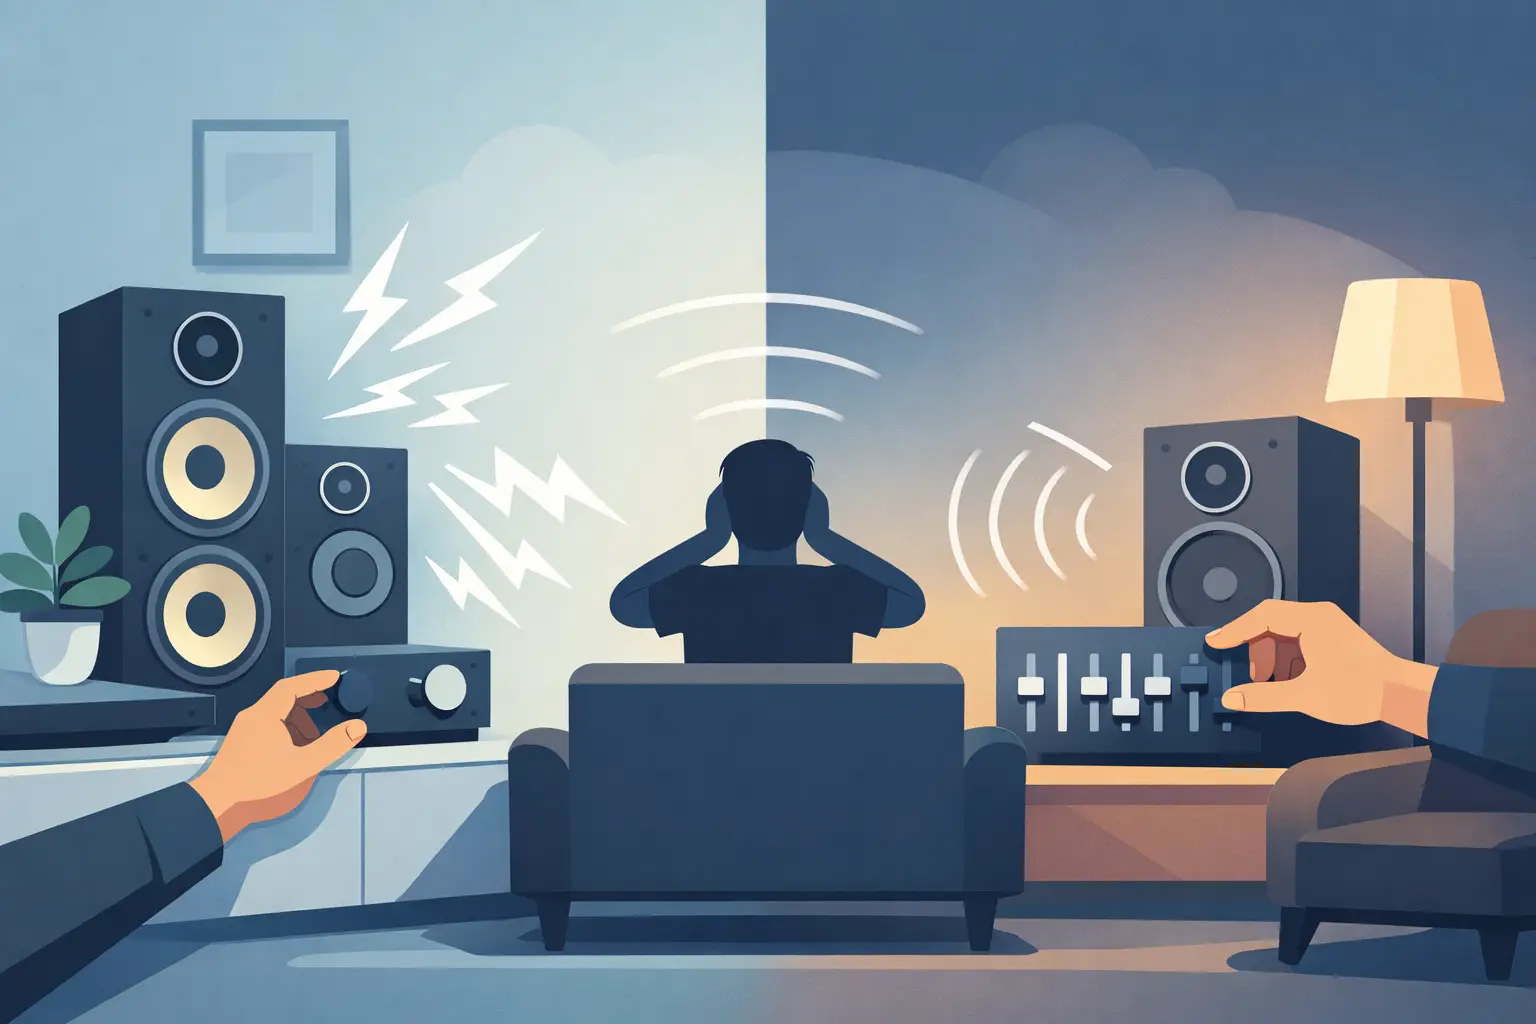
A system that initially sounds “detailed” can become tiring after three tracks: cymbals turn white and splashy, vocal sibilants push forward, and strings lose body. To reduce bright speaker sound effectively, resist the urge to immediately replace components or apply heavy equalization. Brightness is usually the result of an interaction between loudspeaker radiation, room acoustics, placement, recordings, and upstream electronics.
For serious listening, the objective is not to make a system softer or darker. It is to restore tonal balance while preserving the transient speed, spatial precision, and low-level information that make a high-resolution loudspeaker worth owning.
First, Identify What “Bright” Means in Your System
Brightness is often used as a catch-all term, but the remedy depends on what you are hearing. Excess output in the upper midrange, roughly where vocal presence and guitar attack live, can make recordings feel forward or insistent. Excess energy higher up can emphasize cymbal sheen, tape hiss, sibilance, and the leading edge of percussion.
A hard, glassy character may also come from distortion rather than frequency response. An amplifier approaching its limits, a poorly matched cartridge loading setting, or a digital source with aggressive filtering can all create an edge that resembles treble excess. Before changing your room or speaker setup, listen to familiar acoustic recordings at moderate and realistic levels. If the problem intensifies sharply as volume rises, amplifier headroom and speaker load behavior deserve attention.
It also helps to separate a system issue from a recording issue. Many contemporary masters are deliberately compressed and elevated in the presence region. A transparent system will not hide that choice. If only a narrow group of recordings sounds bright, the system may be revealing rather than unbalanced.
Reduce Bright Speaker Sound With Placement First
Speaker placement is the least expensive and often the most consequential adjustment. A loudspeaker does not perform in isolation. Its direct sound reaches the listener first, followed within milliseconds by reflections from side walls, the floor, ceiling, front wall, and nearby furniture. Those reflections shape perceived tonal balance as much as many owners expect an electronic component to do.
Ease Back on Extreme Toe-In
Highly directional drivers, including ribbon-based designs, can deliver substantially more high-frequency energy on axis than slightly off axis. If each speaker is aimed directly at the listening position, begin by reducing toe-in in small increments. Aim each cabinet just outside the listener’s shoulders, then evaluate vocal articulation, cymbal texture, and image focus.
There is a trade-off. Less toe-in may reduce brightness and widen the stage, but too little can soften central image specificity. The correct position is not dictated by a diagram. It is the point at which the image remains stable without the treble drawing attention to itself.
Move Away From Boundaries With Purpose
Distance from the front wall and side walls changes both bass behavior and tonal character. Placing speakers very close to a wall can reinforce lower frequencies, which may subjectively tame brightness but often at the cost of bass definition and depth. A better approach is to establish a position that gives clean bass first, then address high-frequency reflections directly.
Side-wall proximity is especially relevant. A strong early side reflection can add apparent treble energy and flatten image depth. If possible, move each speaker farther from the nearest side wall while maintaining symmetry. Even modest changes can be audible in a resolving system.
Check Listening Height
Ribbon and planar magnetic loudspeakers can be particularly sensitive to vertical listening geometry. A listening chair that is too low or too high relative to the intended acoustic axis may alter perceived tonal balance and image coherence. Verify the manufacturer’s recommended listening height, then adjust the chair, speaker rake, or both before assuming the treble balance is inherent to the speaker.
Treat the Reflection, Not the Music
A bright room is usually recognizable before music starts. Bare glass, hardwood, stone, large television screens, and minimally furnished walls create long-lived reflections. The answer is not to cover every surface with absorptive material. Overdamping can remove the room’s natural sense of space and leave music dry, small, and unnatural.
Start with the first reflection points on the side walls. Have an assistant move a small mirror along each wall while you sit in the listening position. Where you can see a speaker from the seat, a meaningful early reflection is likely occurring. Broadband absorption at those locations can lower treble glare while preserving the direct sound that carries detail and imaging.
A thick rug between the speakers and listening position is another useful intervention, particularly in rooms with hard floors. Curtains can help with large glass surfaces, although lightweight decorative fabric has limited effect at lower frequencies. Bookcases, irregular furnishings, and diffusion can also break up reflections without absorbing excessive energy.
If the room is large, sparsely furnished, or acoustically lively, professional measurement and treatment planning may be justified. The goal is controlled decay and balanced reflections, not a silent room.
Examine Amplifier and Source Matching
Loudspeakers with fast, revealing treble response place high demands on the rest of the chain. A system can sound bright when an amplifier is underpowered, even if its rated wattage seems sufficient. Real-world current delivery, stability into the speaker’s impedance curve, and behavior on musical peaks matter more than a single power specification.
An amplifier that loses composure under load can harden transients and compress tonal colors. Conversely, a well-matched high-current design can make the same loudspeaker sound more relaxed, dimensional, and naturally extended without rolling off the top end.
Source components matter as well. Review DAC filter options, phono stage loading and gain, cartridge alignment, and any digital processing in the signal path. Avoid changing several variables at once. One controlled adjustment, followed by listening over several sessions, is far more revealing than a rapid sequence of swaps.
Cable changes should come later, not first. They can alter system behavior at the margins, but they rarely solve an untreated reflection problem, unsuitable placement, or an amplifier working beyond its comfortable operating range.
Use EQ Carefully and Measure Before You Cut
Equalization can be highly effective when used to correct a verified response issue, especially below the room’s transition region. At higher frequencies, however, measurements must be interpreted with care. A microphone placed at one exact point can capture narrow comb-filter effects that change dramatically with a small movement of the mic or listener.
Use multiple measurements around the listening area and apply gentle, broad corrections only when a consistent excess is present. A broad reduction of one or two decibels in the presence or lower-treble region may be enough. Large, narrow cuts often address a measurement artifact rather than a stable audible problem.
Do not use EQ to force every recording into the same tonal profile. A carefully set system should retain the differences between recordings: a close-miked vocal should sound intimate, a bright 1980s pop mix should retain its production character, and a well-recorded orchestra should still have air around violins and percussion.
Give the System Time Before You Judge It
After each change, listen to a small set of familiar recordings across different genres. Include a solo vocal for sibilance, piano for upper-register hardness, brushed cymbals for texture, and a dense orchestral or electric arrangement for composure at level. Listen long enough to detect fatigue, not merely the initial impression of added warmth.
If you own or are evaluating a revealing ribbon loudspeaker, do not mistake extension for aggression. Properly implemented ribbon speaker technology can reproduce extraordinary speed and delicacy, but it will also expose room reflections and component mismatches that a less resolving design may obscure. Careful setup is part of the performance, not an optional finishing step.
The best adjustment is usually modest: a few degrees less toe-in, a more controlled side-wall reflection, a cleaner amplifier match, or a small measured correction. When brightness recedes without losing the shimmer of a cymbal, the breath in a vocal, or the dimensional cue of a hall, the system has moved closer to musical truth.