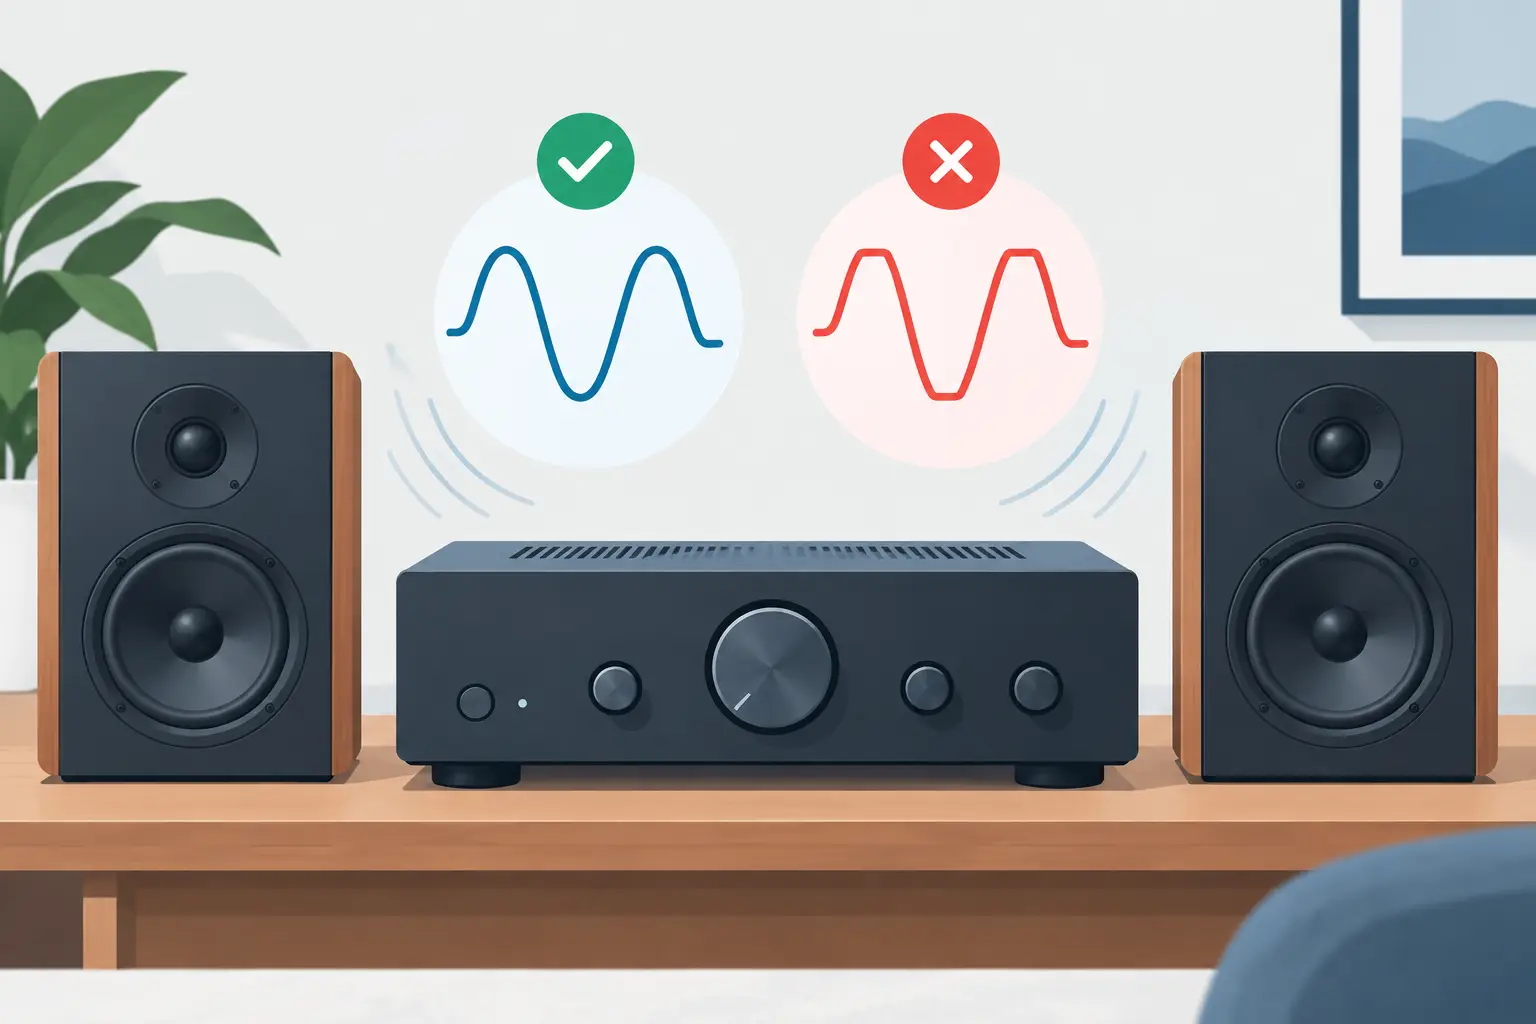
A brass crescendo can ask far more of an amplifier than its average listening level suggests. When the amplifier runs out of voltage or current reserve, the waveform is truncated rather than reproduced cleanly. Learning how to prevent amplifier clipping is therefore not simply about playing music more quietly. It is about designing enough headroom into the entire system, especially when driving resolving loudspeakers that reveal compression, hardness, and strain without mercy.
What Amplifier Clipping Actually Does
An amplifier clips when the signal demands more output than its power supply and output stage can deliver. Instead of the rounded peaks found in music, the amplifier produces flattened waveform peaks. That distortion is rich in high-frequency energy, which is one reason clipping can be particularly hazardous to tweeters and ribbon transducers.
The audible result is not always an obvious crackle. At first, clipping may present as a glassy edge on vocals, a brass section that becomes bleached rather than forceful, or a soundstage that collapses as the music reaches a climax. Push farther and the presentation becomes congested, brittle, and dynamically lifeless. A system can sound loud before it sounds truly strained, so the ear is not a sufficient safety device on its own.
There is an important distinction here: clipping is not the same as an amplifier operating at a healthy, elevated output. A well-designed amplifier delivering substantial clean power can sound effortless. The problem begins when its available voltage swing or current capability is exceeded.
How to Prevent Amplifier Clipping Through System Matching
The most reliable solution begins before the first track plays. Amplifier and loudspeaker specifications must be considered as a system, not as isolated numbers on separate product pages.
Speaker sensitivity affects how much voltage is required to reach a given sound pressure level, but sensitivity alone does not tell the entire story. Impedance behavior matters just as much. A loudspeaker whose nominal impedance appears manageable may present lower-impedance regions and demanding phase angles at particular frequencies. That combination can require considerable current from the amplifier precisely when musical energy is highest.
Ribbon loudspeakers deserve especially thoughtful partnering. Their low moving mass and transient speed can make amplifier limitations immediately apparent. This does not mean that every ribbon design requires extreme power ratings. It means the selected amplifier should be stable into the speaker's real load, retain composure during dynamic peaks, and have sufficient current delivery rather than relying on a headline wattage figure alone.
A higher-powered amplifier is often the safer choice when it is used responsibly. This can seem counterintuitive to owners who worry about overpowering their loudspeakers. In practice, an amplifier with generous clean headroom is less likely to clip during a transient than an underpowered unit driven to its limit. The caveat is simple: extra power does not excuse careless volume settings, turn-on transients, or a fault in the signal chain.
For a serious system, examine the amplifier's power ratings into multiple loads, its stated stability, and ideally its behavior under real-world reactive conditions. A meaningful audition is equally valuable. Listen for control in the lower registers, stability of image placement at realistic levels, and freedom from glare when a recording becomes complex.
Build Gain Structure Before Raising the Volume
Clipping can begin upstream. A digital source, DAC, phono stage, preamplifier, or room-correction processor can overload the next component even when the power amplifier itself is not yet clipping. Correct gain structure gives every stage room to pass musical peaks without overload.
Start with source output level. Many modern DACs provide a full-scale output around 2 volts on single-ended connections and higher voltage on balanced outputs. That may be entirely appropriate for a preamplifier designed to accept it, but not every input stage has the same overload margin. If a source offers fixed and variable output modes, use the mode that suits the control architecture of the system. Avoid stacking active volume controls without knowing which one is setting the effective gain.
Digital volume deserves particular care. Reducing level in a high-quality digital domain is usually preferable to driving an analog stage into overload, but extreme attenuation can make practical gain control awkward depending on the source and system. The goal is a sensible range on the main volume control: normal listening should not occur near its absolute minimum, and realistic peaks should not require its final few degrees of travel.
If a preamplifier or integrated amplifier provides gain settings, choose the lowest setting that still allows adequate level with your quietest recordings. Lower gain can reduce background noise and make the volume control more usable, while preserving headroom at subsequent stages. It is not automatically better in every system, but it is worth evaluating rather than treating maximum gain as a default.
Preserve Headroom for Real Music
Power requirements are governed by peaks, not averages. A moderate average level can contain instantaneous demands many times higher than the steady-state figure suggested by a wattmeter. Well-recorded orchestral music, acoustic jazz, large-scale electronic music, and uncompressed live recordings can all produce substantial transients.
Room size and listening distance add to the calculation. A speaker that sounds relaxed in a smaller room may need materially more amplifier output in a larger, open-plan space. Deep bass is another major variable. Low-frequency passages consume amplifier power quickly because they require substantial cone or panel excursion and sustained energy.
This is where a subwoofer system with appropriate bass management can be transformative. When the main amplifier and loudspeakers are relieved of the deepest bass duties, they often gain usable headroom. The benefit is not merely greater maximum volume. Midrange clarity and dynamic ease can improve because the main channels are no longer trying to reproduce the most power-hungry octave.
Do not assume every recording is mastered at a comparable level. A track that seems restrained may be followed by one mastered several decibels hotter. Establish a conservative reference level, then make adjustments deliberately. This is particularly relevant when switching between streaming services, digital inputs, vinyl playback, and home theater sources.
Use Indicators, but Trust the Whole System
Clip indicators are helpful when they are properly implemented, yet they should not be treated as the only evidence. Some illuminate at the earliest sign of overload; others indicate a condition closer to severe clipping. If an amplifier's indicator flashes only on rare, exceptional peaks, the system may still be operating acceptably. A light that remains active or appears regularly on musical climaxes is a clear instruction to reduce level and investigate the cause.
Audible symptoms deserve equal attention. A sudden loss of openness, bass that becomes less defined as volume rises, or high frequencies that turn sharp and splashy can indicate insufficient headroom. These symptoms may also result from a poor recording, room resonance, driver distress, or another fault, so avoid diagnosing by one familiar track alone. Use several demanding recordings across different genres.
Never use clipping as a performance test. Deliberately driving an amplifier into distortion risks loudspeaker damage and tells you little about how convincing the system will sound within its proper operating range.
Check the Practical Details Often Missed
A few installation choices have an outsized effect on amplifier stability. Confirm that speaker cables are correctly terminated, with no stray conductor strands that could create a partial short. Maintain firm connections at amplifier, speaker, and power-distribution points. A loose connection can introduce noise, intermittent operation, or excess resistance that complicates diagnosis.
Give the amplifier adequate ventilation. Heat does not necessarily mean clipping, but an overheated amplifier may reduce output, enter protection, or operate less comfortably during demanding passages. Avoid enclosed cabinetry unless cooling has been planned with the same seriousness as component selection.
Finally, respect warning signs from protection circuits. If an amplifier shuts down, do not repeatedly restart it at the same level. Power the system down, inspect connections, allow the component to cool, and determine whether the issue follows a particular source, cable, speaker channel, or volume threshold. Repeated protection events are information, not an inconvenience to defeat.
The finest systems do not advertise their reserves with brute force. They make demanding music feel unforced: a full orchestra retains scale, a kick drum arrives without thickening the midrange, and a ribbon's delicacy remains intact when the performance finally opens up. Set the system so those moments remain clean, and you will protect both the equipment and the reason for owning it.