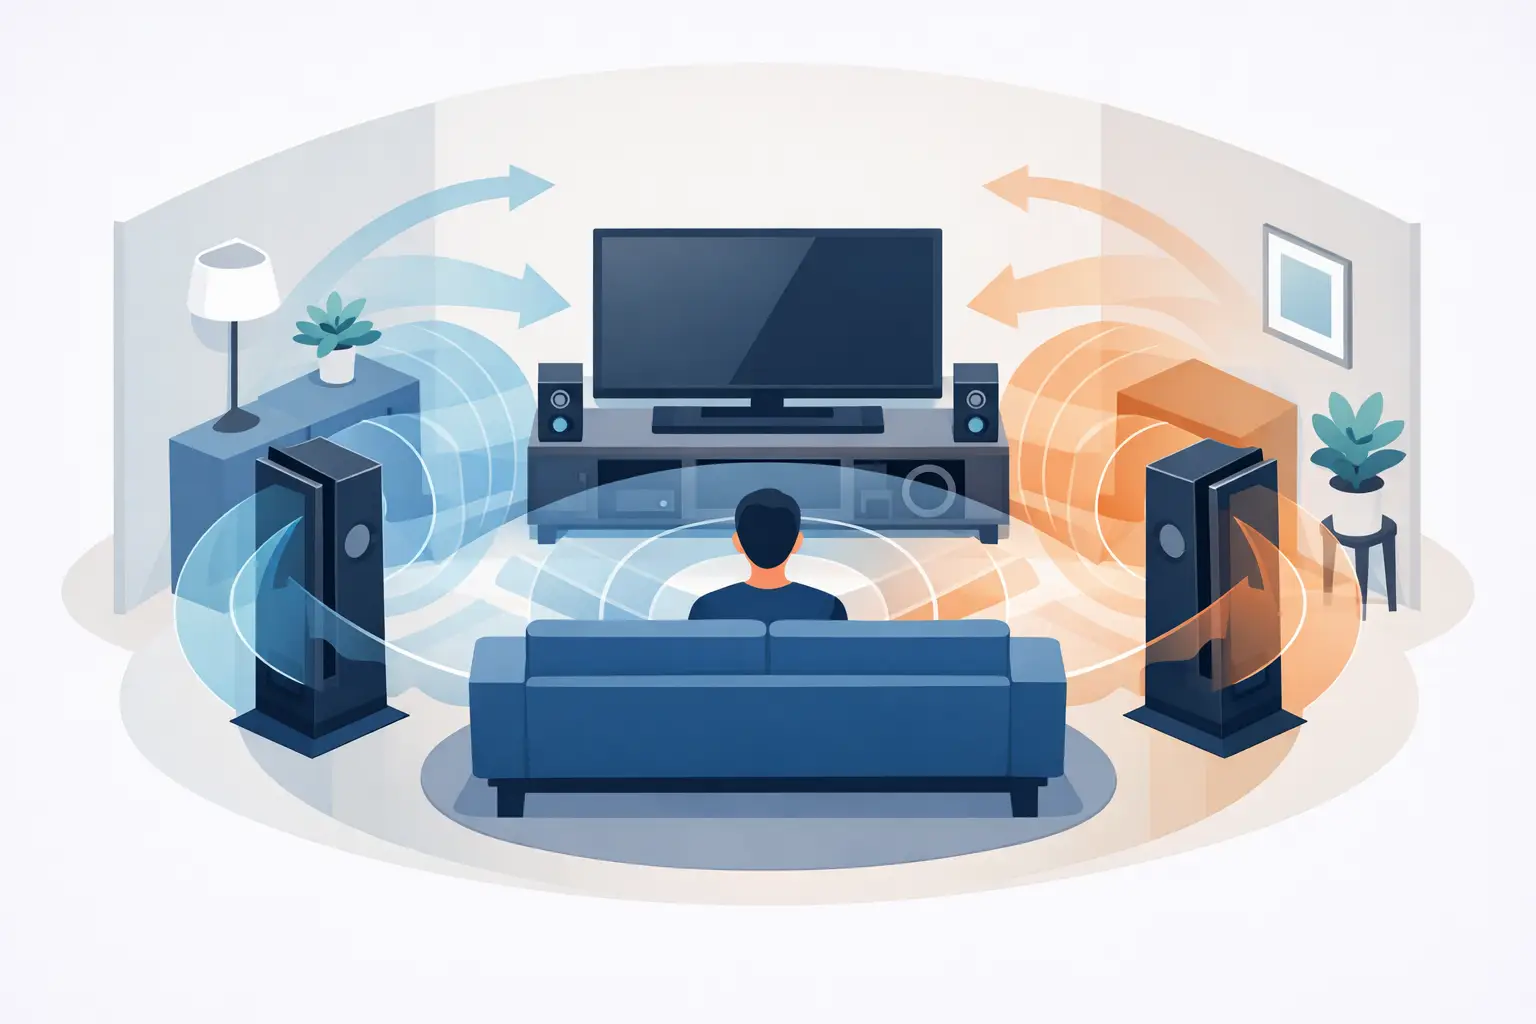
A dipole loudspeaker does not merely play into a room. It energizes the room from both its front and rear surfaces, with those outputs operating out of phase. That is why learning how to position dipole speakers is not a matter of placing them where conventional box speakers happened to work. The wall behind the speakers, the distance to the listening seat, and the timing of reflected energy all become part of the system’s voicing.
For ribbon and planar dipole designs, careful setup can produce an unusually open stage, convincing image height, and a sense that performers occupy a continuous acoustic space rather than two locations at the ends of the equipment rack. Poor placement can make the same system sound diffuse, tonally lean, or dynamically constrained. The difference is often measured in inches, not feet.
Understand What a Dipole Radiates
A conventional monopole speaker sends most of its energy forward. A true dipole radiates forward and backward, while producing relatively little energy to either side. Its radiation pattern resembles a figure eight when viewed from above. Because the rear wave is inverted relative to the front wave, it interacts with the front wall and the room differently from a conventional loudspeaker.
This has two important consequences. First, the rear wave needs time and space to develop before it reflects into the listening area. Second, nearby boundaries can cause cancellation and reinforcement that alter tonal balance, particularly through the bass and lower midrange. The apparent spaciousness that makes a well-designed dipole so compelling is therefore inseparable from room geometry.
Do not treat the wall behind the speakers as an afterthought. With a dipole, it is an active acoustic boundary.
Start With Room Symmetry and Listening Position
Before moving the speakers, establish a credible listening triangle. Place the listening seat on the room’s centerline where possible, with similar left and right boundary conditions. If one speaker is close to a large opening while the other faces a side wall, imaging stability will suffer before fine adjustment even begins.
Avoid placing the listening seat directly against the rear wall. Bass pressure often builds at that boundary, while early reflections can reduce depth and blur low-level detail. Moving the seat forward by even 12 to 24 inches can improve clarity substantially. In a dedicated room, a useful first experiment is to place the seat roughly 35 to 40 percent of the room length from the front wall, then adjust according to bass smoothness and image focus.
The speaker-to-listener distance should be broadly comparable to the distance between the speakers. This is a starting geometry, not a rule. Larger dipole panels can often support a wider spacing and a more distant seat, provided the room allows the rear radiation to develop.
How to Position Dipole Speakers From the Front Wall
Begin with each speaker at least three feet from the wall behind it, measured from the speaker’s radiating plane rather than its front trim or frame. Four to six feet is often better when room dimensions permit. Large dipole ribbon speakers may reward still more distance, because the delayed rear reflection contributes to depth instead of arriving early enough to interfere with direct sound.
There is no universal ideal measurement. A speaker that sounds exceptional at five feet in one room may become unfocused there in another, especially if the front wall is highly reflective or the room is short. Treat three feet as a practical minimum, then work outward in small, matched increments.
As the speakers move farther into the room, listen for several changes: voices should become less attached to the panels, front-to-back layering should increase, and the stage should extend more naturally behind the speakers. Bass may also become cleaner, though deep-bass output can seem lighter if placement moves the system away from a room-supported region. That trade-off is normal. The goal is even, articulate bass rather than maximum bass at a single note.
Maintain meaningful distance from side walls as well. Two to three feet from the center of the driver or panel to the nearest side wall is a sound starting point. Because a dipole produces a side null, it may be less sensitive to side-wall reflections than a wide-dispersion box speaker, but close side boundaries can still disturb image width and bass consistency.
Set Spacing Before Toe-In
Set the speakers approximately six to nine feet apart for many medium-sized rooms, measured between their acoustic centers. Wider spacing can create a grander stage, but only until the center image loses density. If a solo vocal becomes vague or seems to stretch across the middle, reduce spacing before adding excessive toe-in.
With a tall ribbon or planar panel, acoustic center is not always as simple as a single tweeter location. Use the centerline of the primary radiating surface as a repeatable reference. Keep every movement symmetrical. A one-inch change to one channel without a corresponding change to the other may reveal a room asymmetry, but it is not a reliable way to establish baseline placement.
Start with the speakers facing straight ahead or with modest toe-in. Many dipole designs deliver a broad, coherent image with less toe-in than conventional forward-radiating speakers. Excessive toe-in can narrow the stage, overemphasize direct treble energy, and diminish the room-supported openness that makes dipoles distinctive.
A useful initial setting is to aim each speaker so its axis crosses one to two feet behind the listening position. Then test small changes. More toe-in may improve center focus and high-frequency definition. Less toe-in may expand the stage and create a more relaxed presentation. The right setting depends on the speaker’s dispersion, the listening distance, and the tonal balance of the room.
Control the Rear Wave Without Killing It
The rear wave is not a flaw to be absorbed out of existence. It is part of the design. Heavy absorption directly behind dipole speakers can reduce perceived depth and make the presentation feel overly dry, particularly when the room is already well damped.
Start by listening with the wall untreated. If the image is too sharp, forward, or inconsistent across recordings, experiment with diffusion or moderate absorption behind the speakers. Diffusion can preserve a sense of air while breaking up strong, coherent reflections. Absorption may be appropriate when the speakers must sit closer to the front wall than ideal, or when that wall is hard, bare, and highly reflective.
The best choice depends on distance. When the speaker is well into the room, diffusion often complements the delayed rear radiation. When the speaker must be close to the wall, controlled absorption can reduce early reflection problems. Avoid assuming that more treatment is automatically more accurate.
Address Bass as a Placement Problem First
Dipole bass behaves differently from bass generated by an enclosed cabinet. Front-to-back cancellation limits low-frequency output as wavelengths become long relative to the speaker’s baffle dimensions, while room boundaries influence the remaining response strongly. This is one reason large dipole systems benefit from capable amplification and careful integration with the room.
If bass is thin, first verify speaker polarity and move the speakers slightly closer to the front wall in two- to four-inch steps. If certain notes boom while others disappear, move either the speakers or the listening seat rather than reaching immediately for equalization. Position changes alter the relationship to room modes and can solve problems that electronics only partially conceal.
Use recordings with acoustic bass, cello, kick drum, and sustained low piano notes. A single familiar track is not enough. You are listening for pitch definition, evenness, and natural decay across several recordings, not for the most dramatic first impression.
Use a Disciplined Adjustment Process
The most reliable setup method is deliberate and slow. Mark the initial speaker locations with low-tack tape. Move both speakers together by small increments, then listen from the same seat at the same volume. Change one variable at a time: front-wall distance, speaker spacing, toe-in, then listening-seat position.
A measurement microphone and room-analysis software can be valuable, especially below 300 Hz, but they should support rather than replace listening. Measurements can reveal modal behavior and channel imbalance. They cannot fully judge image depth, tonal color, or the ease with which a system reproduces a recording’s acoustic perspective.
At Clarisys Audio, the final adjustment should be made with music that challenges spatial reproduction: a naturally recorded vocal, a small acoustic ensemble, a large orchestral work, and a densely layered studio production. Each exposes a different aspect of placement.
When the position is right, the speakers become less visually and acoustically obvious. Images lock without sounding etched, the stage extends beyond the panels without becoming vague, and the rear wall seems to recede. Give the room and the speakers the patience they demand. A finely positioned dipole system repays that effort every time the music begins.