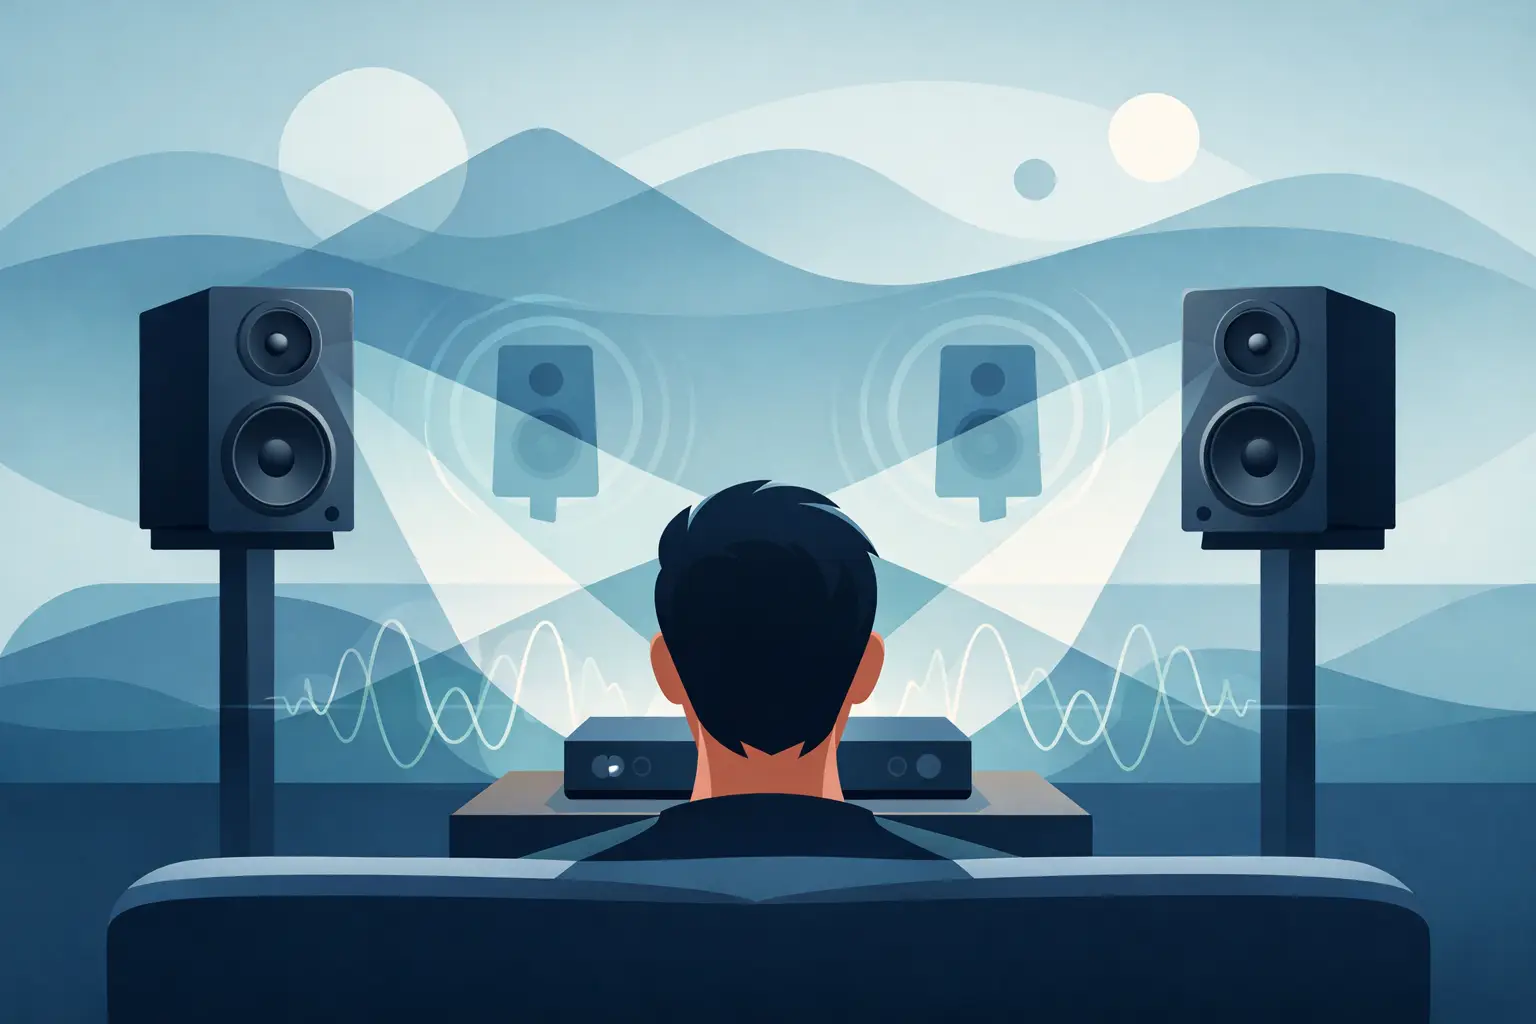
A system can have excellent drivers, low-noise electronics, and first-rate recordings - then still fail at the one thing listeners notice first: image stability. If the vocalist drifts, the center lacks density, or the stage collapses when you move your head a few inches, speaker placement is usually the reason. The best speaker placement for imaging is not a fixed formula. It is the point where geometry, room behavior, and speaker radiation work together so the soundstage locks into place.
For serious two-channel listening, imaging is not just about left-right effects. Good imaging means a centered voice with believable height, stable outlines around instruments, and depth that extends behind the plane of the speakers. It should sound organized, not exaggerated. A system that images well does not merely throw details into space. It preserves location, scale, and coherence.
What imaging actually depends on
Imaging begins with timing and level consistency at the listening seat. Your ears locate sounds by comparing tiny arrival-time differences and level differences between left and right channels. When one speaker is closer, aimed differently, or interacting with the room more strongly than the other, those cues become blurred. The result is familiar to experienced listeners: vague center fill, stretched images, and a soundstage that changes from track to track for the wrong reasons.
The speaker itself matters too. Radiation pattern, driver integration, vertical dispersion, and cabinet diffraction all shape image precision. Ribbon-based systems can be especially revealing here because they often present very low moving mass and high transient clarity, which makes placement gains easy to hear. That same resolution can also make placement errors more obvious. Precision is rewarding, but it is not forgiving.
The room is the third variable. Early reflections from side walls, floor, front wall, and nearby furniture can widen apparent space while also softening focus. This is where many setups go wrong. A broader stage is not always a better stage. If reflections arrive too early or too strongly, image edges become indistinct and the center image loses density.
Best speaker placement for imaging starts with symmetry
If you want a reliable baseline, start with symmetry around the listening position. Each speaker should see the room in roughly the same way. That means similar distance to side walls, similar boundary conditions, and a centered listening seat. If one speaker sits near an open hallway and the other is boxed in by a side wall and cabinet, the image will almost always pull to one side or lose focus.
This does not mean the room must be mathematically perfect. Very few listening rooms are. It means the acoustic environment around each speaker should be as similar as practical. Even small asymmetries can matter when the rest of the system is capable of high resolution.
Begin with equal distance from each speaker to the listening seat. Measure from the tweeter or acoustic center, not from the front grille. A difference of even half an inch can shift the apparent center in a revealing setup. Once equalized, verify that the speakers are also level and similarly coupled to the floor.
The listening triangle is only a starting point
The classic equilateral triangle remains useful because it tends to preserve good channel balance and center focus. Place the speakers about as far apart as each speaker is from your listening position, then refine from there. In many rooms, though, the best result is slightly wider than equilateral or slightly farther away from the listener.
If the speakers are too close together, the stage narrows and images stack up between the cabinets. If they are too far apart, you may gain width but lose center solidity. The right spacing creates a continuous stage with no hole in the middle. On a well-recorded vocal, the singer should appear stable and embodied, not oversized or diffuse.
Distance from the front wall affects depth more than most listeners expect
Pulling speakers farther into the room usually improves depth and separation. It reduces strong early reflections from the wall behind the speakers and often cleans up upper bass and lower midrange congestion. With better front-wall distance, the stage can develop behind the speakers instead of sounding pasted onto them.
The trade-off is practical. Large rooms allow generous pull-out distance more easily than shared living spaces. Start with the speakers at least 3 feet from the front wall if the room permits, then adjust in small increments. Even 2 to 3 inches can change image depth and tonal balance.
Closer placement to the front wall can increase bass reinforcement, which some listeners initially prefer. But if that gain comes with a flattened stage and blurred positioning, it is rarely worth it in a high-end system. Imaging tends to improve when the speaker has room to breathe.
Side-wall distance and early reflections
Side walls are often more disruptive to imaging than the wall behind the speakers. Strong first reflections from the side boundaries can make the stage sound larger while reducing localization precision. The fix is not always to move the speakers dramatically inward. Sometimes a small change in spacing or toe-in is enough to lower reflected energy at the seat.
As a working method, maintain enough side-wall distance that neither speaker sounds acoustically crowded. In narrow rooms, this may force compromise between stage width and focus. When that happens, prioritize image stability over maximum width. A smaller but believable stage is usually more convincing than a large one with poor focus.
Toe-in is the fine adjustment that decides image lock
If spacing and symmetry create the framework, toe-in is what often snaps the image into focus. Aimed more directly at the listener, many speakers deliver stronger center fill, sharper outlines, and less side-wall interference. Reduced toe-in can sound more open and relaxed, but also less precise.
There is no universal toe-in angle because dispersion varies greatly by design. Some speakers perform best crossing just behind the listener. Others prefer axes aimed directly at the ears or even crossing in front. Ribbon loudspeakers can be especially sensitive because horizontal and vertical behavior may differ from conventional dome-based designs.
Listen for three things as you adjust toe-in: center density, treble balance, and stage continuity. Too little toe-in often produces a soft center and excess room contribution. Too much toe-in can tighten focus while shrinking the stage or making the top end overly insistent. The correct position tends to sound calm, stable, and dimensionally believable.
Seat height and vertical alignment matter more with revealing speakers
Many listeners focus only on left-right placement and ignore vertical geometry. That can be a mistake, especially with speakers whose vertical dispersion is more controlled. If your ear height is above or below the intended listening axis, tonal balance and image specificity can shift.
Adjust seat height, rake angle, or speaker tilt if the image seems low, disconnected, or inconsistent across recordings. A stable image should not depend on an unnaturally rigid listening posture, but there is usually a preferred vertical window. Once found, the entire presentation tends to relax and organize itself.
How to find the best speaker placement for imaging in your room
The most effective setup process is slow and repeatable. Start with symmetry and equal listening distance. Set a reasonable front-wall distance and speaker spacing. Then make only one change at a time.
Use a few recordings you know exceptionally well, preferably sparse acoustic material, centered vocals, and recordings with natural room information. Mono recordings are also useful. In mono, the image should appear tightly centered between the speakers, not spread across them. If mono does not lock, stereo will not fully lock either.
Move the speakers in small increments - often 1 to 2 inches is enough. First optimize spacing for stage continuity. Then adjust distance from the front wall for depth and bass cleanliness. Finally, refine toe-in for center focus and tonal balance. Mark successful positions with tape so you can compare rather than guess.
What you are listening for is not hi-fi spectacle. It is the disappearance of the loudspeakers as identifiable sources. When placement is correct, images become less like effects and more like events in space.
Common mistakes that reduce imaging
A few setup errors appear repeatedly, even in ambitious systems. One is placing speakers for visual symmetry rather than acoustic symmetry. Another is chasing bass weight by pushing speakers too close to walls. A third is setting extreme toe-in to force center fill when the real issue is unequal distance or poor spacing.
Furniture between the speakers can also matter, particularly large racks and reflective surfaces. Some rooms tolerate them better than others, but a lower and less reflective profile generally helps preserve stage depth. Likewise, untreated glass near the speakers often damages image focus more than listeners expect.
Clarisys Audio systems are often installed in rooms where every upstream component is carefully chosen. Placement deserves the same level of discipline. In many cases, the final 5 percent of positioning produces a larger audible gain than a far more expensive electronics change.
The target is simple, even if the path is not: a stage that holds together naturally, with a center image that feels anchored and instruments that occupy real space rather than vague areas. When your setup reaches that point, you stop listening to placement and start listening through it. That is when the room, the system, and the recording begin to act like a single instrument.